7. Shadow Casting
Shadows consist of umbra (area completely cut off from light source) and penumbra (light source partially obscured).
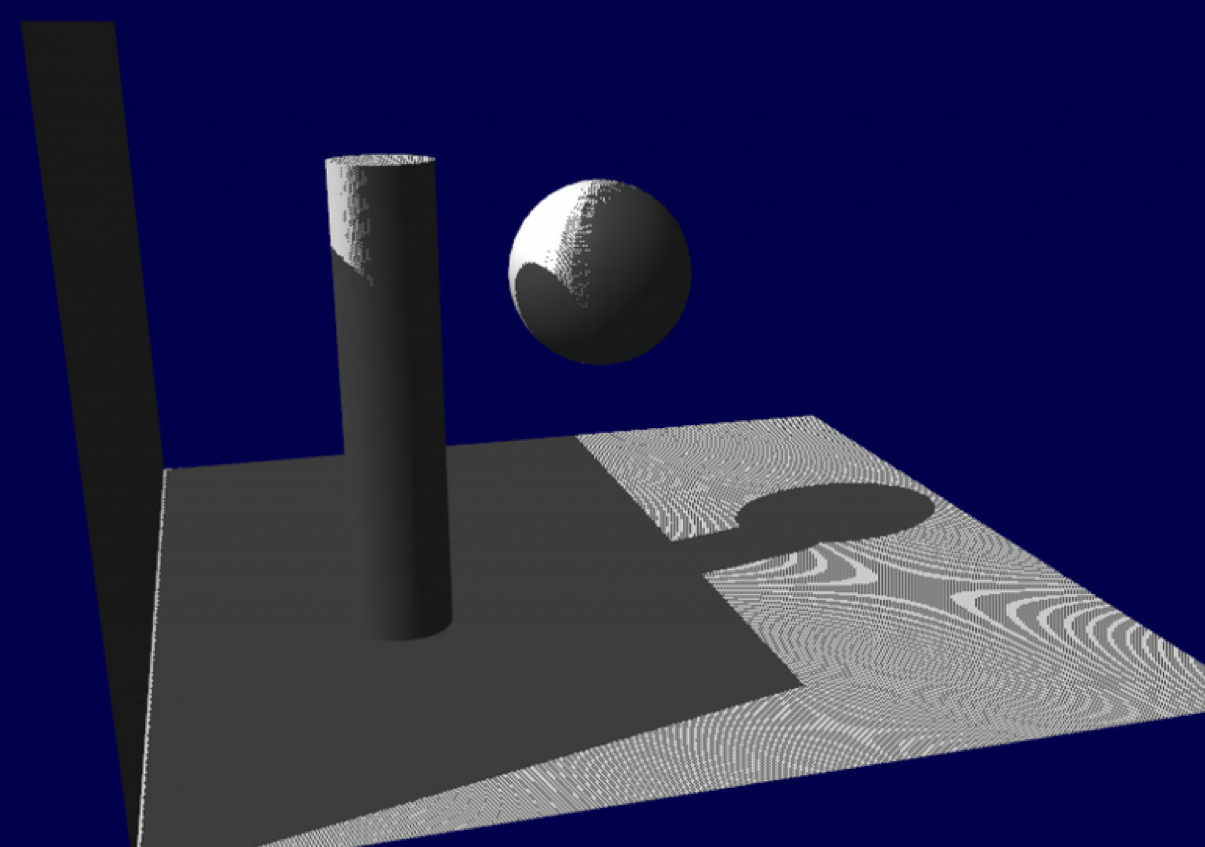
7.1. Simple Method
Simple method for working out shadows:
- Draw each object with normal lighting and colour; then
- Draw each object again but projected into a plane, and in black/gray.
So the algorithm could look something like this:
- Define the light source position and the normal to the plane you want to cast the shadow on
- Create a mat4 shadow matrix
- Calculate the dot product of the light ray and the object normal, to find out the projected plane.
- Define your object’s transformations (store this value or use a stack)
- Transform the model matrix by the shadowMatrix (multiply)
- Enable blending and a dark colour (e.g. ambient only)
- Draw the object
- Define the object’s unshadowed model matrix (e.g. push stack)
- Disable blending and enable the object’s colour
- Draw the object
7.2. Shadow Z-buffer method
This is a Z-buffer calculated using the light source as the viewpoint.
For any visible point, a transformation maps the point to the equivalent point in coordinates based on the light source.
However, when the original objects are rendered, the normal Z-buffer is used. The Shadow Z-buffer is only used to render the shadows.
The depth of the point is then compared to the depth stored in the appropriate pixel of the shadow Z-buffer; if the current point has greater depth, it is in shadow and should be modified accordingly, otherwise it is not in shadow.
In the algorithm, we would render the scene in two passes:
- Render the depth view (what the light can ‘see’).
- This includes generating a texture of ‘depth values’.
- But we don’t actually have to calculate colour from the fragment shader, only depth values.
- This can be done by enabling front-face culling.
- Render the scene from the camera position, passing the depth texture to the fragment shader.
- Remember to disable culling, or enable back-face culling.
- If the fragment is in shadow (calculated by using depth buffer from previous pass), then include no diffuse or specular component.
There can be problems, like below:
That is called “shadow acne”, and is caused by some sections self-shadowing. It can be solved by a polygon offset to push depth values away from the viewer, essentially making the depth test more conservative.
7.3. Fixed vs Dynamic Shadows
Fixed:
- No per-frame cost; (good)
- No need to tune; (good)
- No artefacts; (good)
- Area light source possible; (good)
- Lengthy pre-computation phase (worse for area light); (bad)
- No support for dynamic scenes; and (bad)
- Restricted to mesh resolution. (bad)
Dynamic:
- Dynamic scene support;
- (Potentially) higher quality;
- No lengthy pre-computation;
- Slower rendering per-frame;
- Need to tune;
- Potential for artefacts; and
- Directional light source approximation (no penumbrae).