3.2. Shading
Shading is applying lighting effects in OpenGL code. The three ways below are in increasing realism, but also each take a higher performance hit.
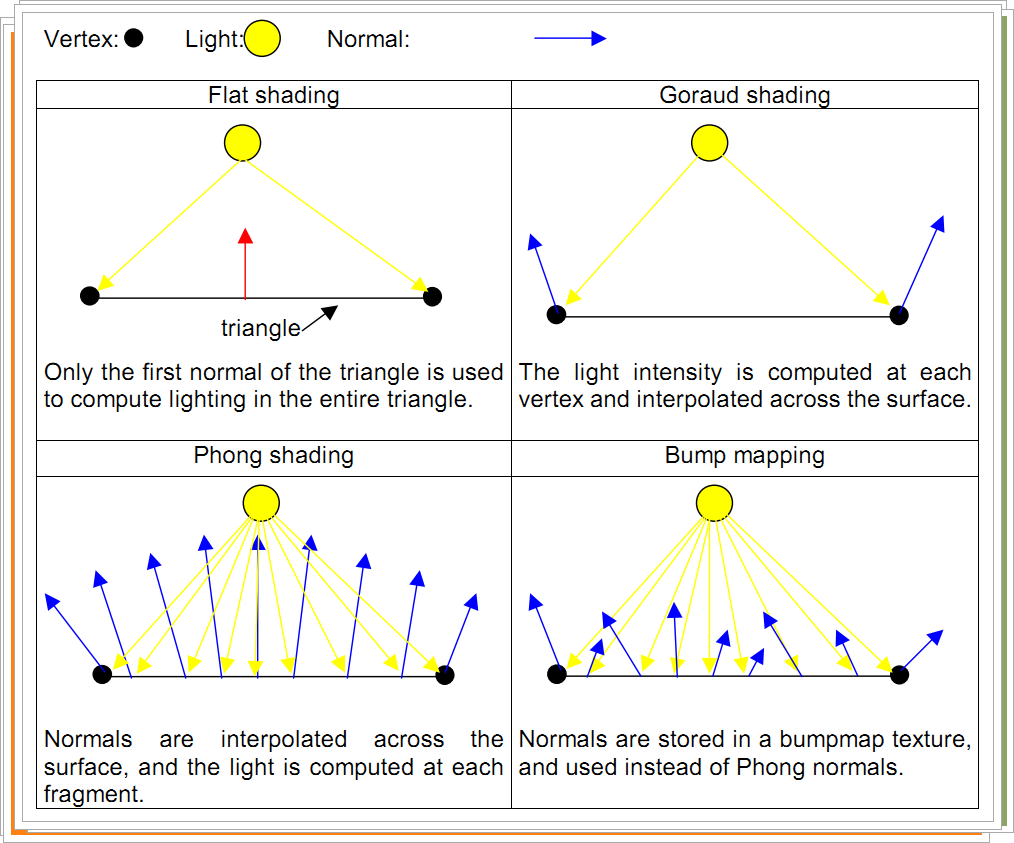
In summary, it’s something like this:

3.2.1. Flat Shading
Define a normal for each plane (a.k.a. polygon) that makes up your shape. Then, calculate lighting for each plane.
This will give you flat shading, as shown in the image below.
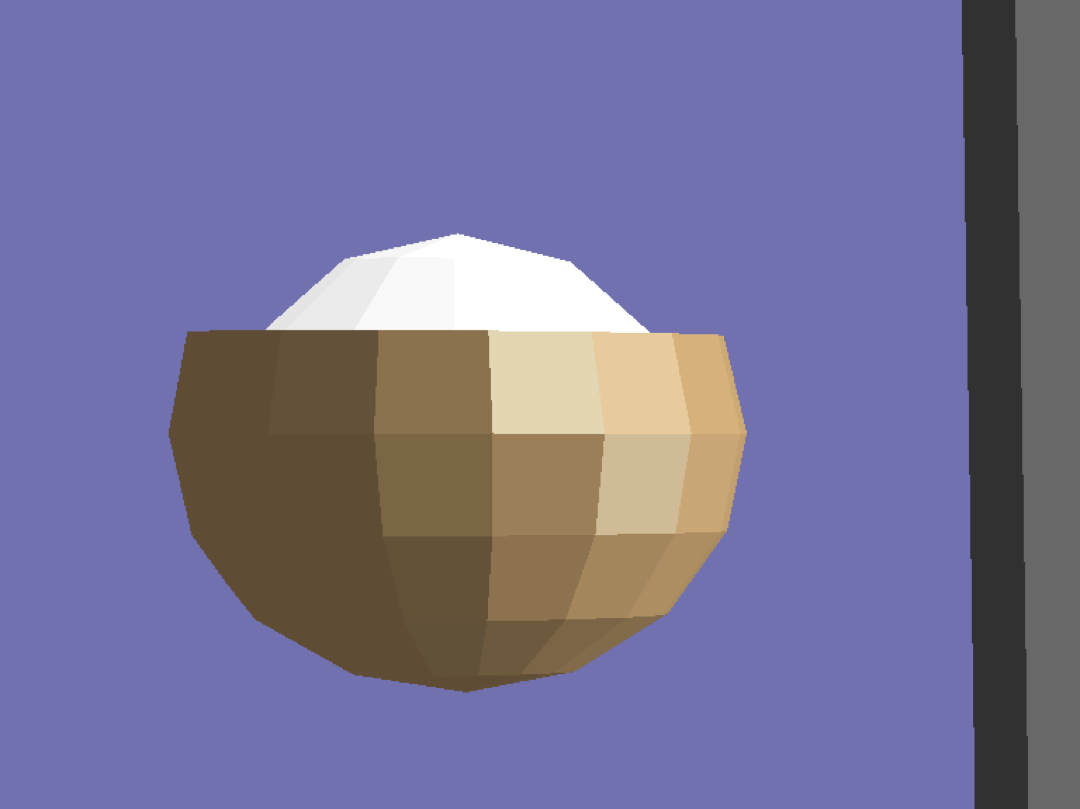
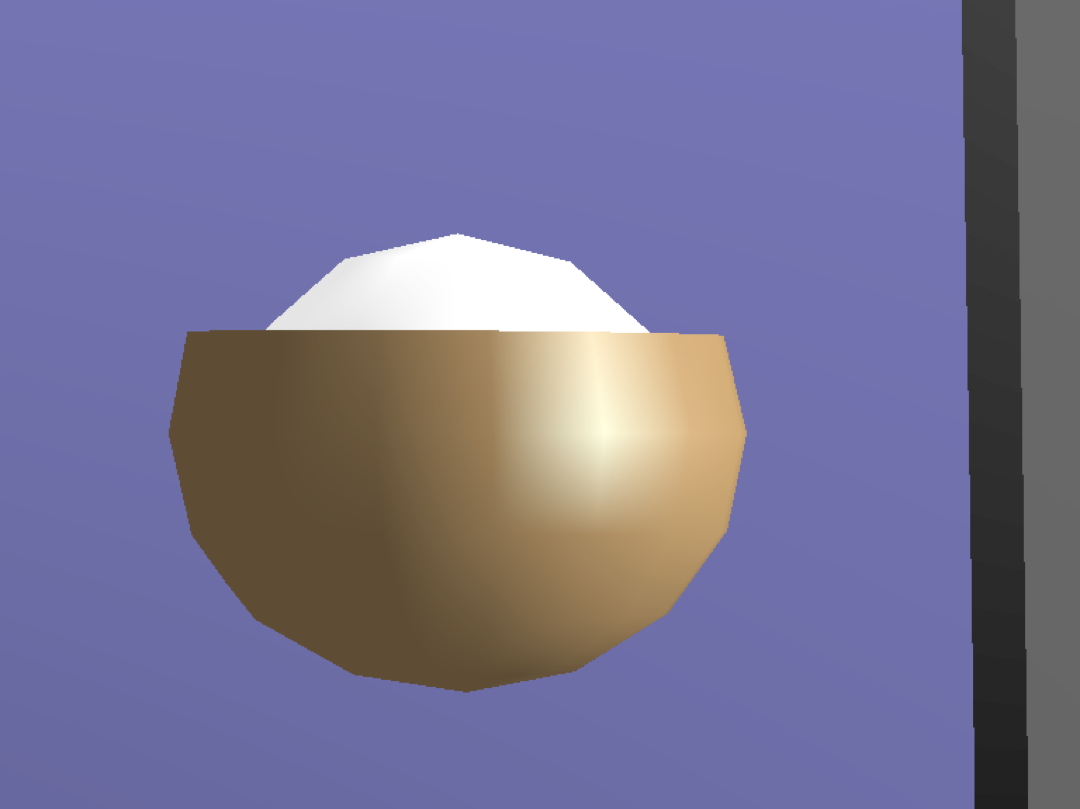
3.2.2. Gouraud Shading
Define normals at each vertex and use them to calculate lighting
Because the lighting gets calculated at a vertex level, you will see specular highlights appear and disappear quickly. However, it is cheaper to do than Phong shading (although Phong is acceptably cheap with modern hardware).
Below, we can see how the specular highlight follows the vertices as opposed to being truly smooth.
So, in order to implement Gouraud shading, the following steps could be followed:
In application 1. Define vertex normal and colours (material properties) 2. Define light source position and colour (and optional intensity) 3. Calculate NormalMatrix transform (or can do in vertex shader)
In vertex shader 1. Calculate transformed vertex position 2. Calculate transformed normal 3. Calculate light direction to vertex 4. Calculate diffuse component 5. Calculate specular component 6. Calculate ambient component 7. Calculate vertex colour (from lighting values and vertex material colour)
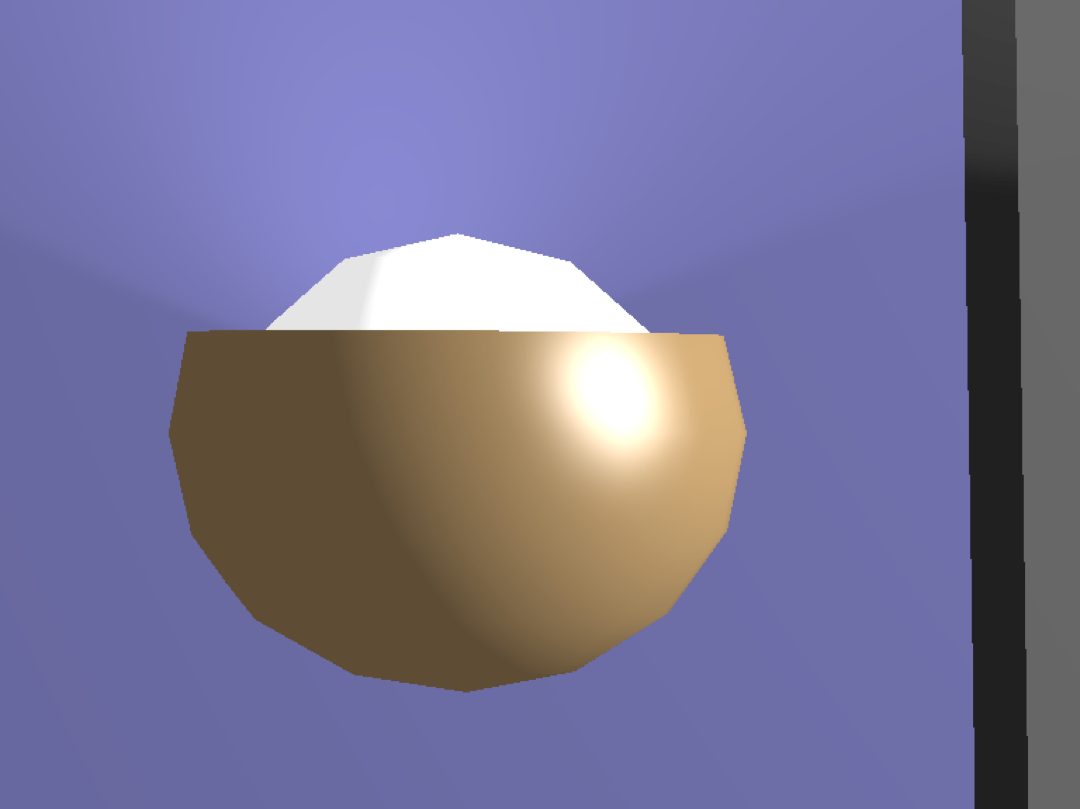
3.2.3. Phong Shading
In Phong shading, the normals are defined at vertex level but lighting is not calculated at vertex level.
Instead, the normals are interpolated between vertices, and lighting is calculated at a per-pixel-fragment level.
This means more calculations, and thus it more computationally expensive, but the results are substantially more realistic, and it is more likely to capture specular highlights.